
If you are riding your dirt bike for a long time then you will get sick of looking at the same old graphics. If you are looking for something interesting that adds fun in your riding then it is beneficial for you to replace your dirt bike graphics. There are lots of riders who prefer to deal with this situation because they think that installing the new graphics on the bike is a painful and tiring process. But installing a new bike graphic can be interesting for you if you take care of all things and work carefully.

In order to install new dirt bike graphics, it is important for you to remove the old graphics. If you want to make the process easy then you can remove the plastic from the bike so that you can easily work with that. Once you take the plastic off then you can easily remove the existing graphics without having any kind of problem. It is beneficial for you to heat the graphics with a hair dryer or heat gun that makes most of the adhesive come off the graphics. But it is important for you to be careful and do not melt the graphics but only warm it at the level that makes it pliable. After that, most of the adhesive can come out when you pull back on the heated graphics and it will make the plastic clean up much easier. If there is a graphic left on the bike then you can again heat it back to make it pliable.
Now, you can clean the bike plastics once you remove all old graphics off your bike. You can wash the bike with detergent and then clean it by using a contact cleaner along with a micro fibre shop towel. It is important for you to make sure that you get all of the adhesive off and other residue as well so that you can easily install the new graphics on your bike. It is not difficult for you to replace your old dirt bike graphics but it is important for you to be patient while removing and installing graphics so that you can do the work in the right way. You need to pay attention to all the things to install the new graphics in an efficient way.

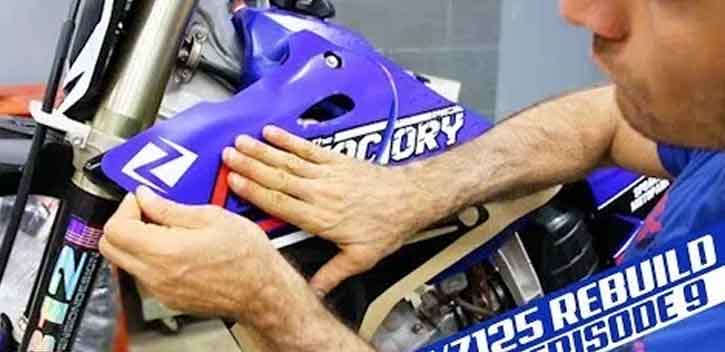
While applying the new dirt bike graphic, you need to remove only a small part of the backing paper so that you can easily work within a smaller area. If you pull off the whole backing paper then you can face some trouble to keep it sticking to everything. So after that, line up the edge of the graphics to the plastic and then lay it on the bike. Make sure to work in one direction while placing the graphic to reduce the number of creases and bubbles. You can also start from the center going outwards to push the bubbles out and then you can remove then next piece of backing paper and repeat the process to install the whole graphics. Nowadays, you can easily find great quality and affordable dirt bike graphics on the online platform that can easily save your lot of time and effort.